Introduction
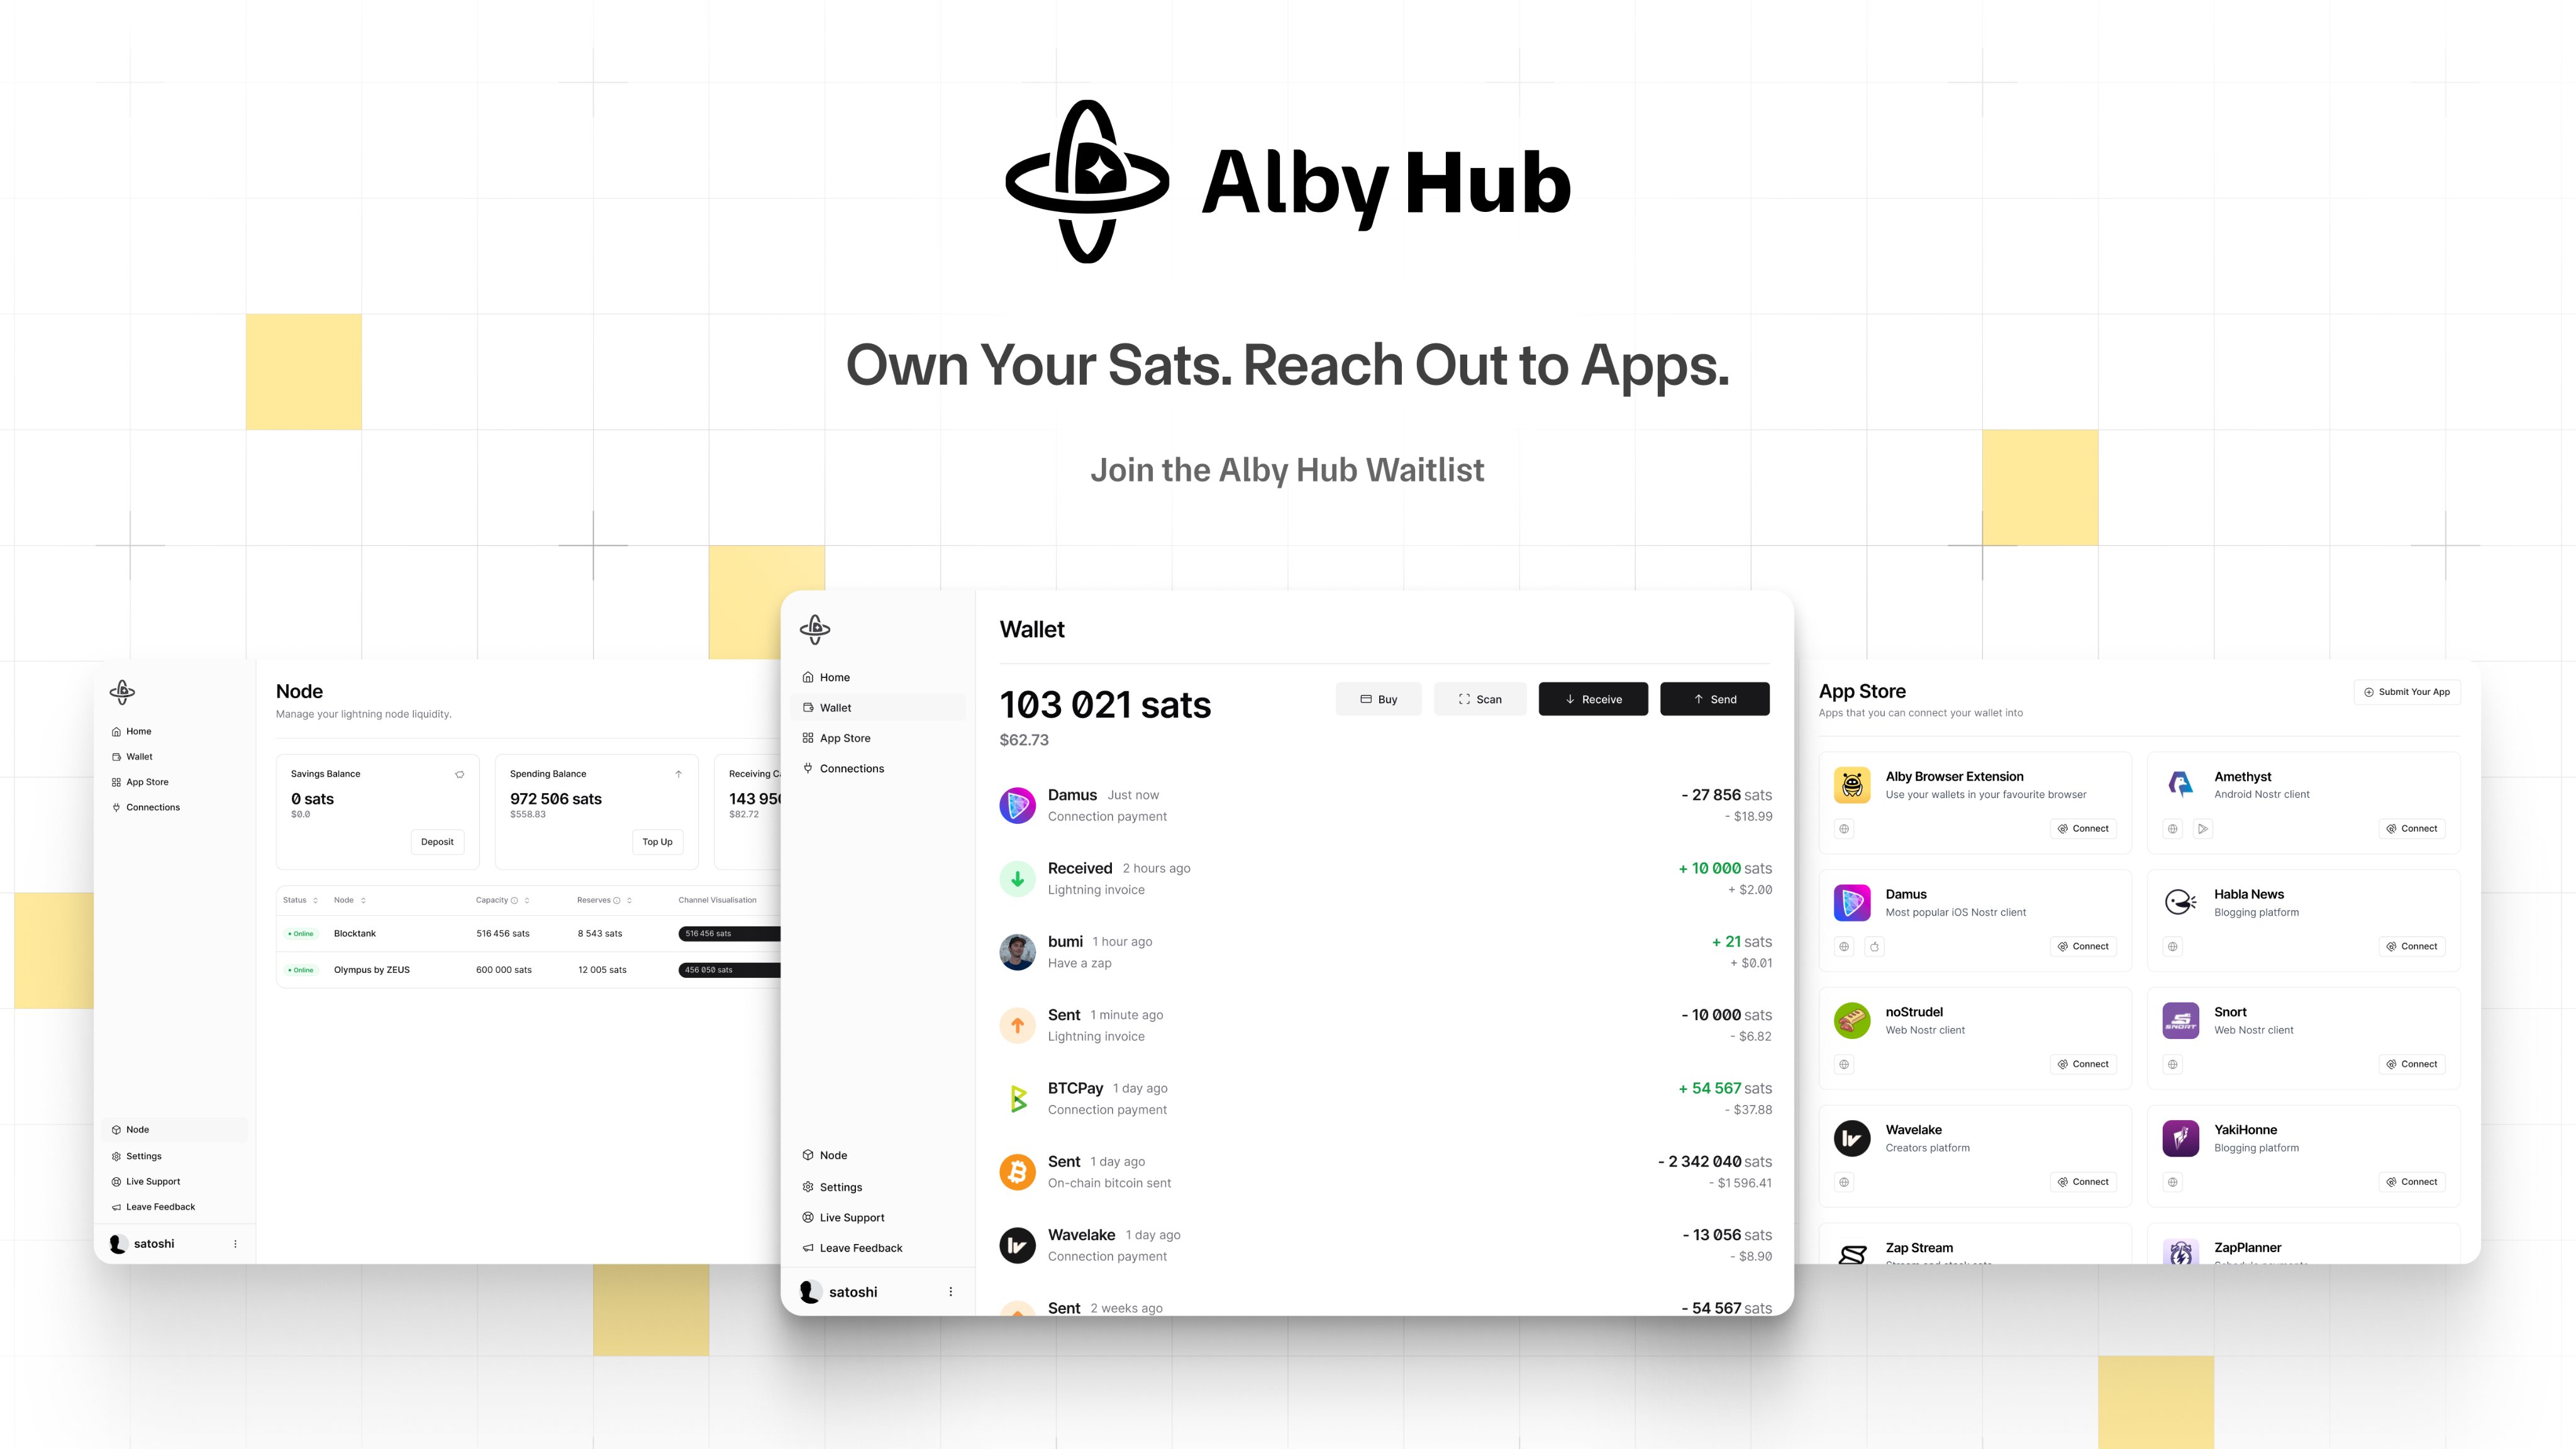
With the team over at Alby recently releasing their new Alby Hub, I wanted to share today how you can connect Alby Hub to a phoenixd node. In case you didn't know already, phoenixd by ACINQ is a specialized Lightning node that provides liquidity and channel management out-of-the-box. You can find out more on ACINQ's website: https://phoenix.acinq.co/server
If you choose to host your Alby Hub and Phoenixd node on Nodana then they will automatically be configured so you don't need to follow the steps below. You also receive a $5 discount on the overall price.
Step 1
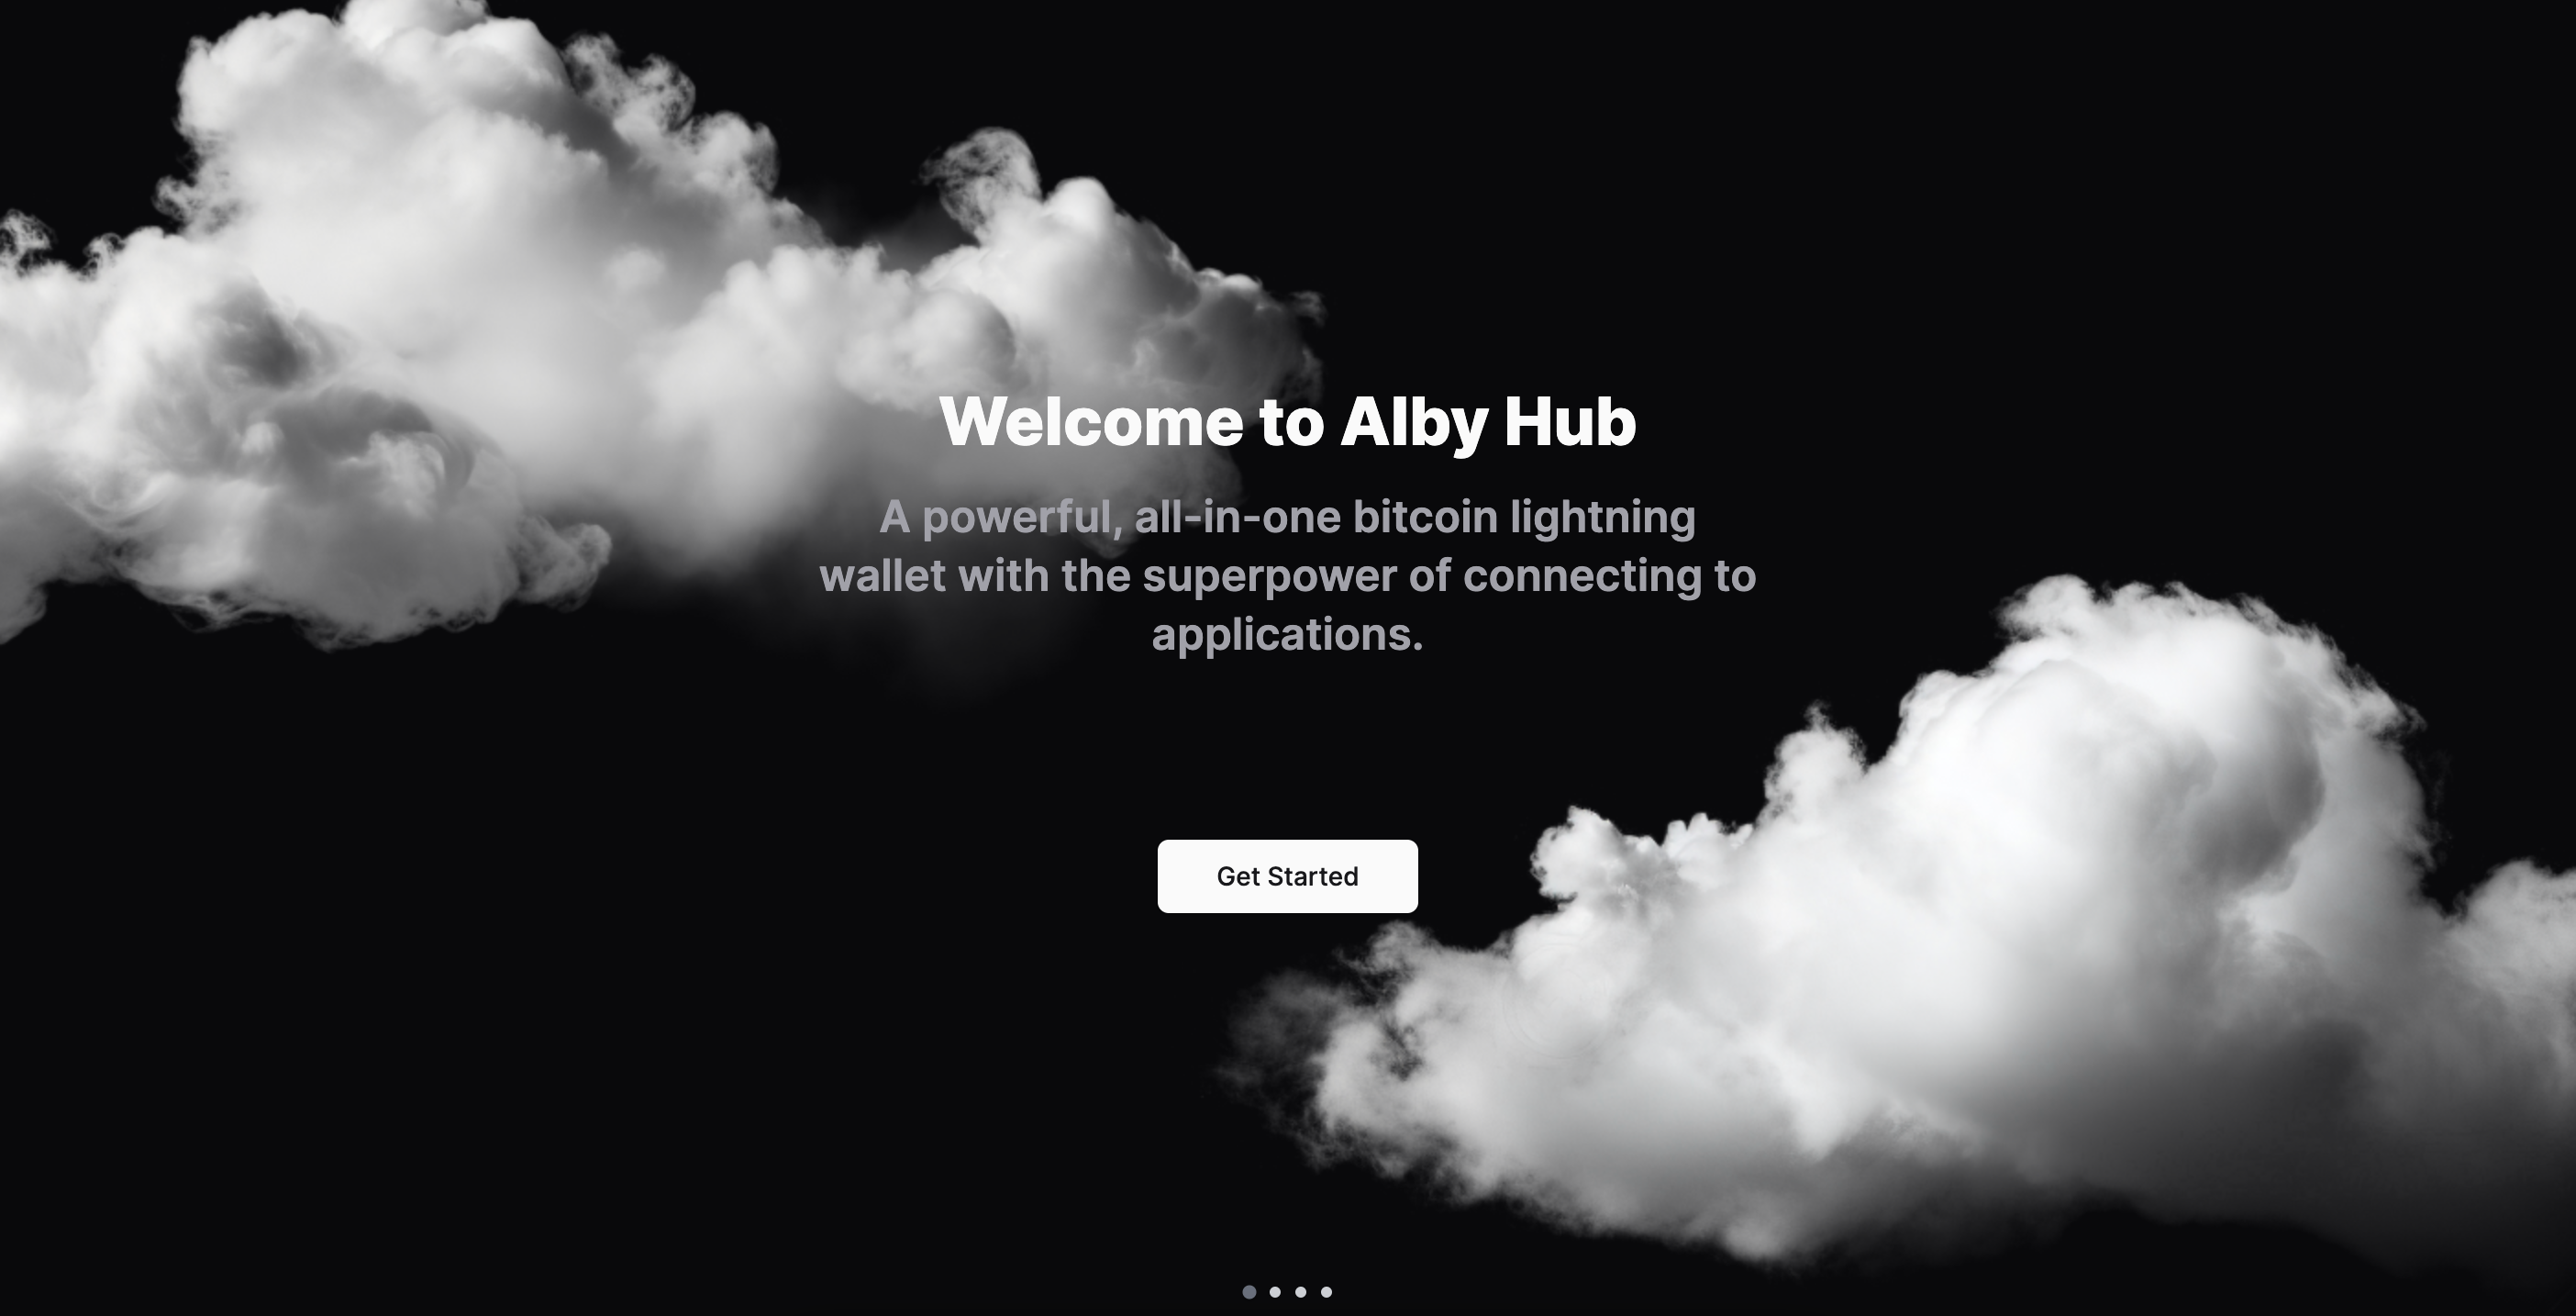
Click through the welcome screens to get started.
Step 2
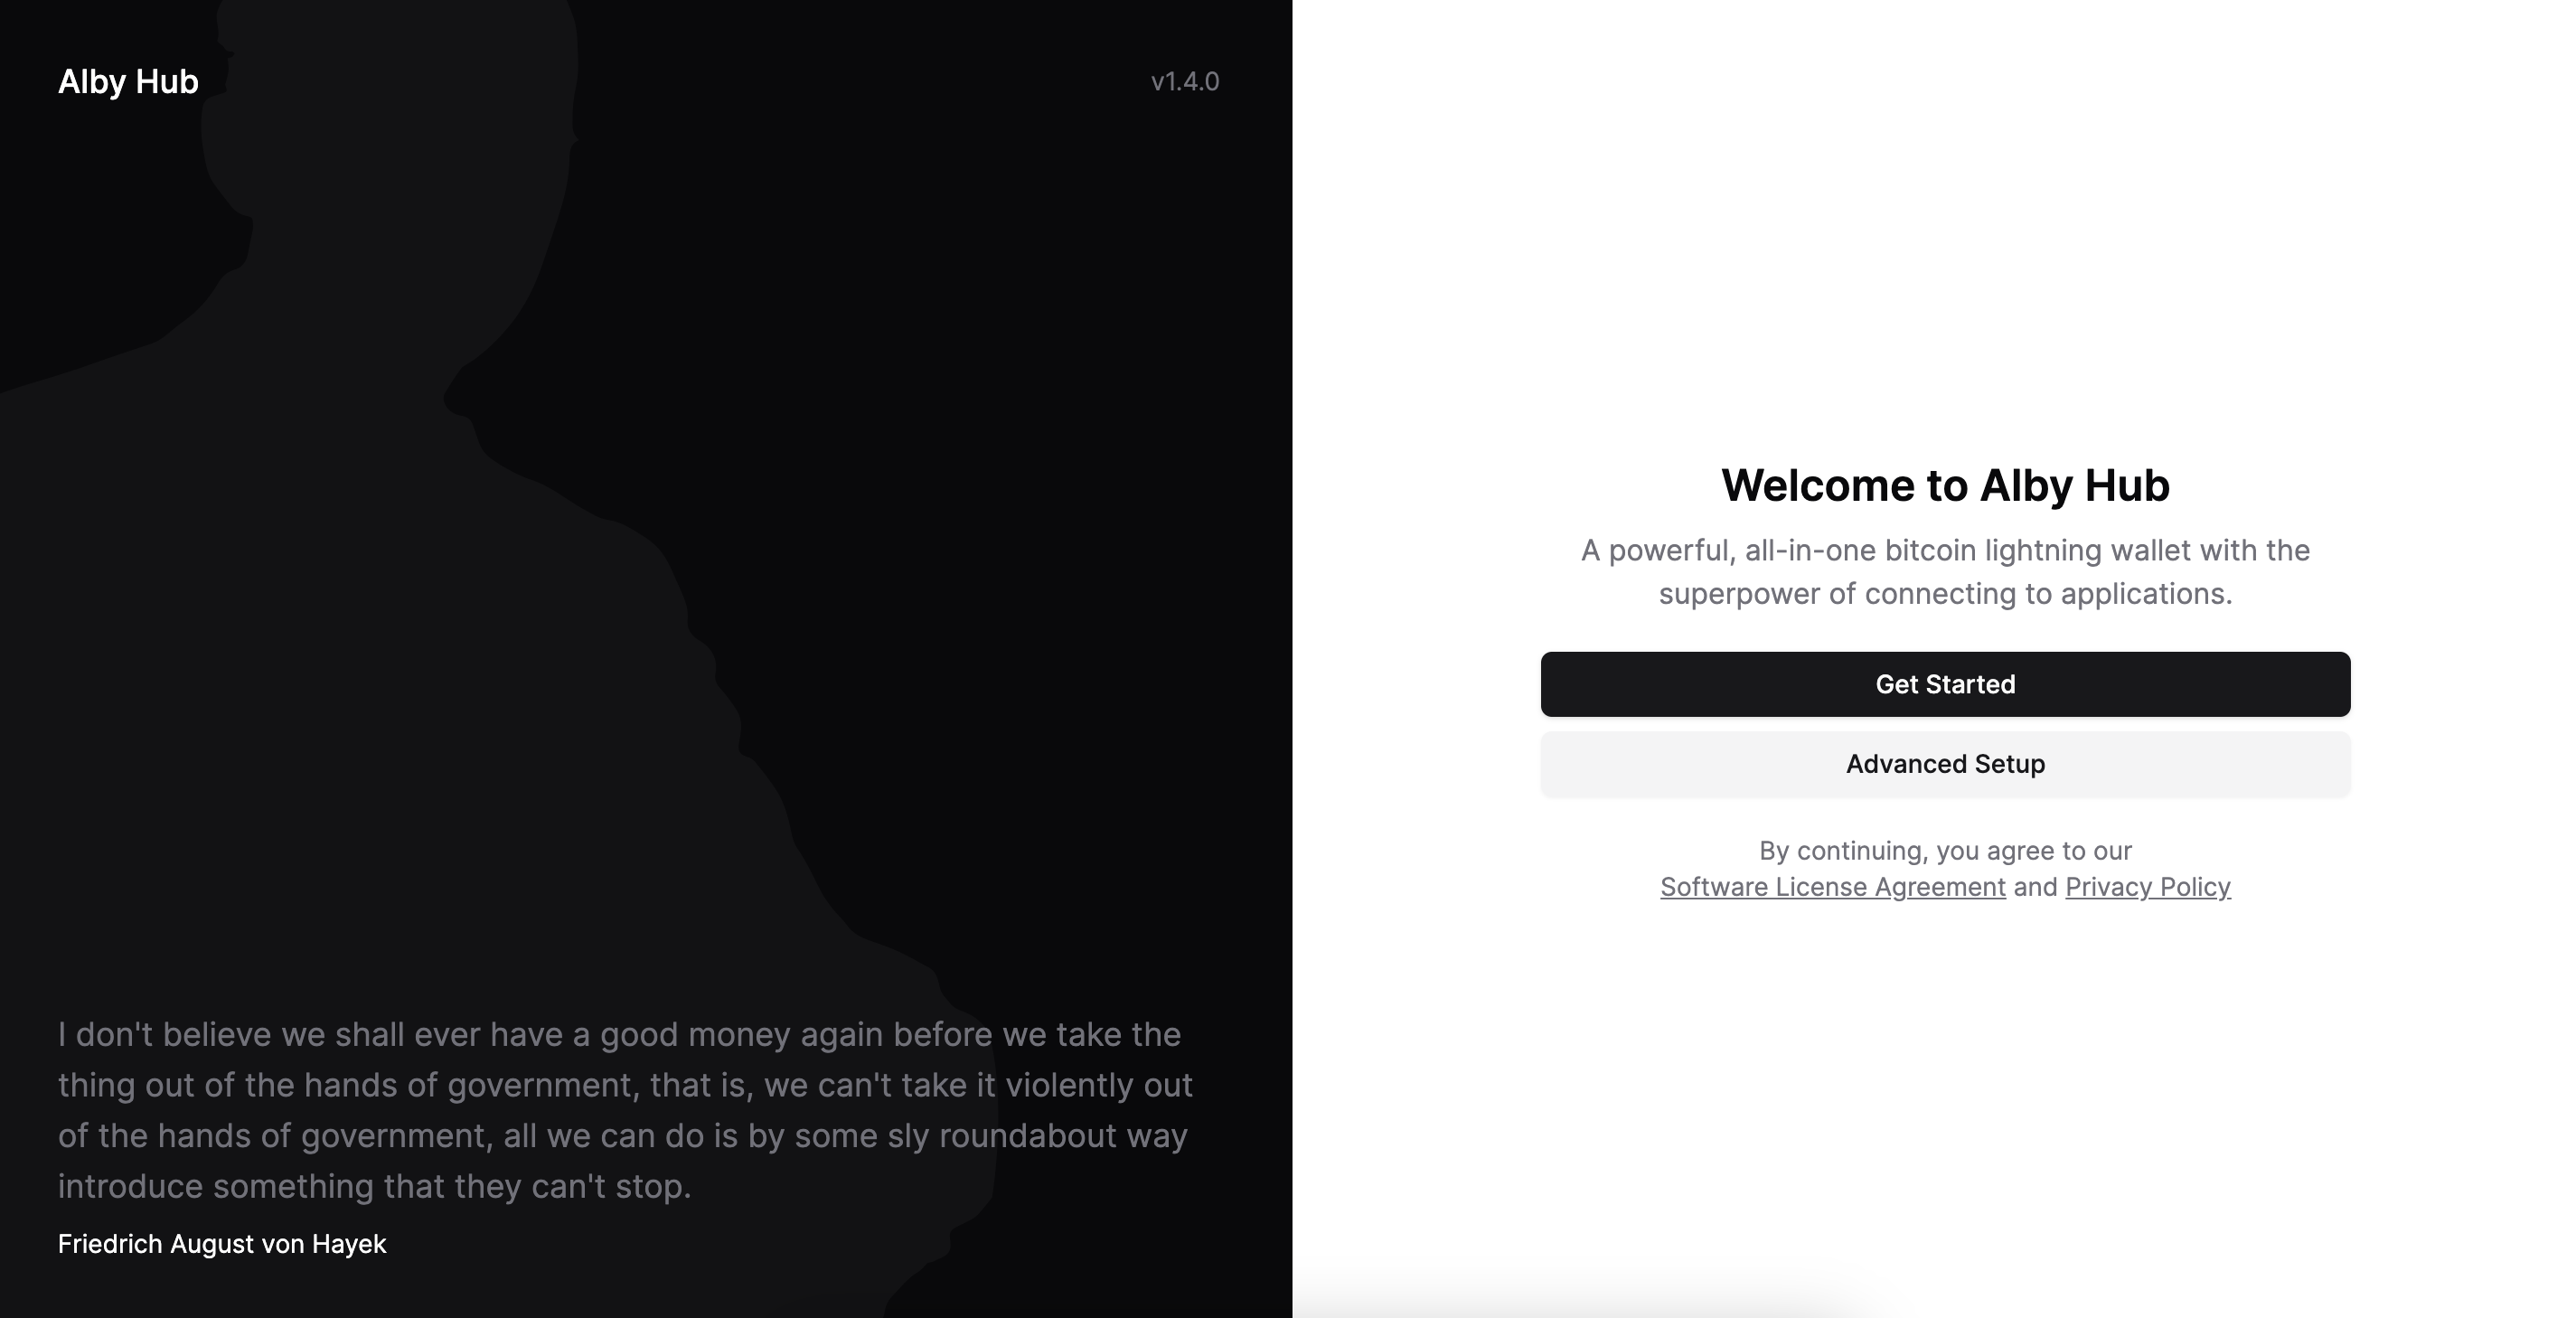
Choose Advanced Setup.
Step 3
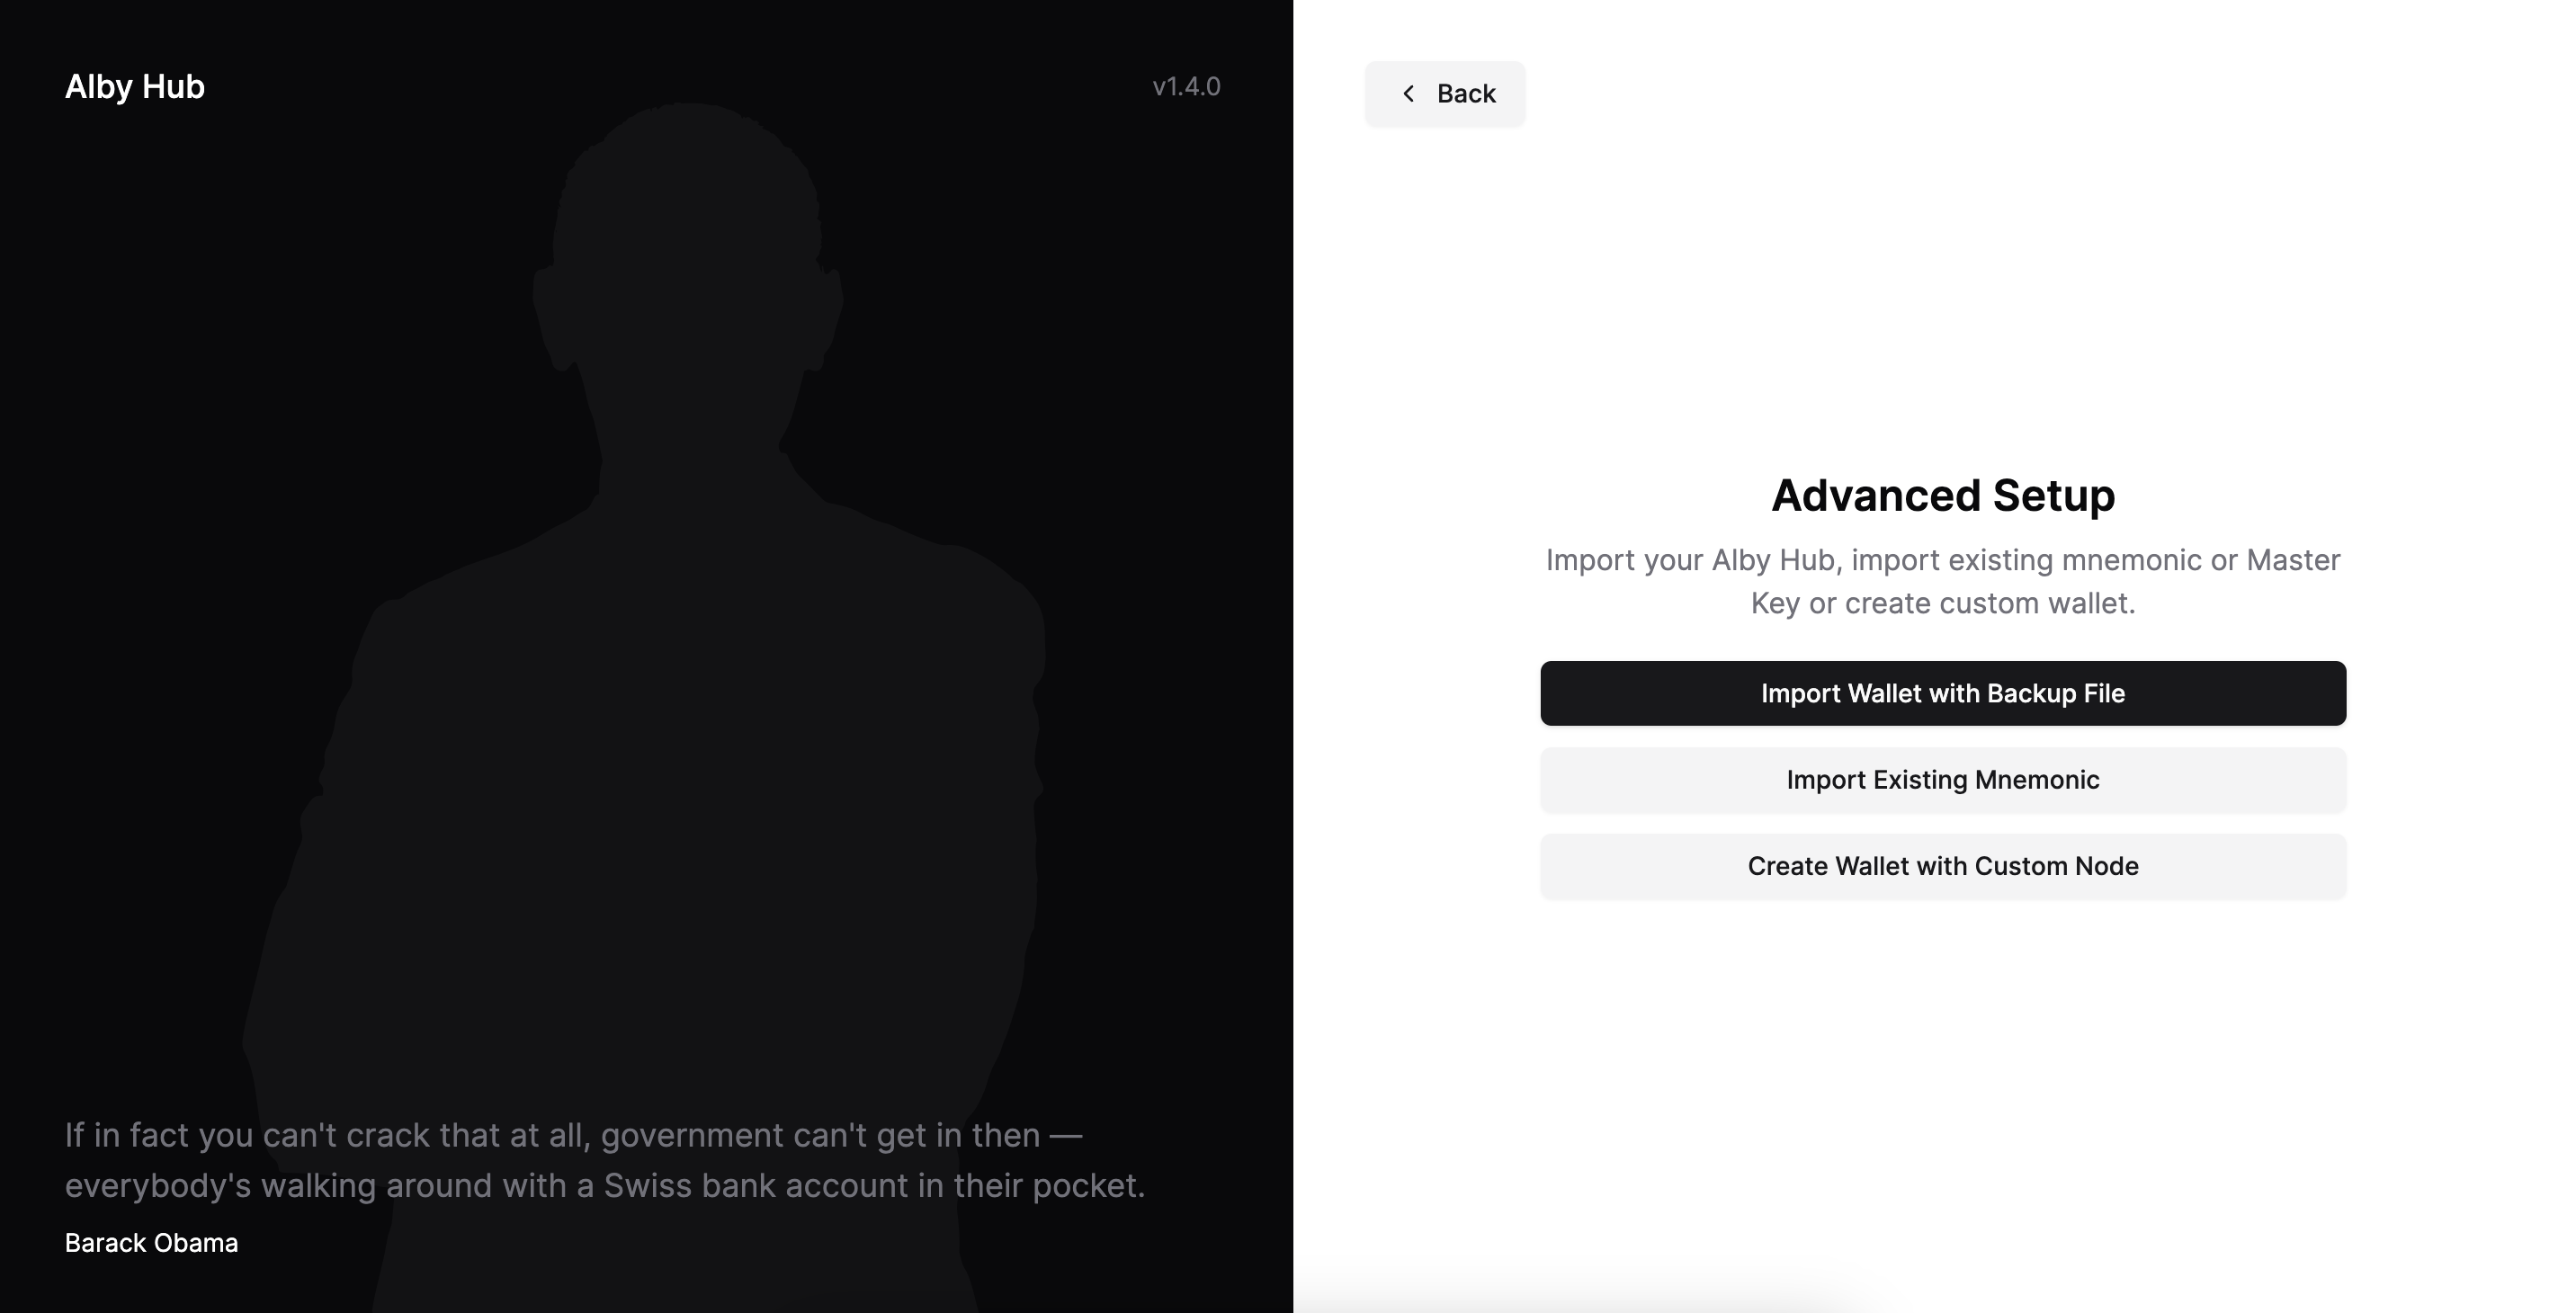
Choose Create Wallet with Custom Node.
Step 4
Create a password for your hub and don't forget it. You will need this to access the hub from time-to-time as it will auto-lock after a period of inactivity.
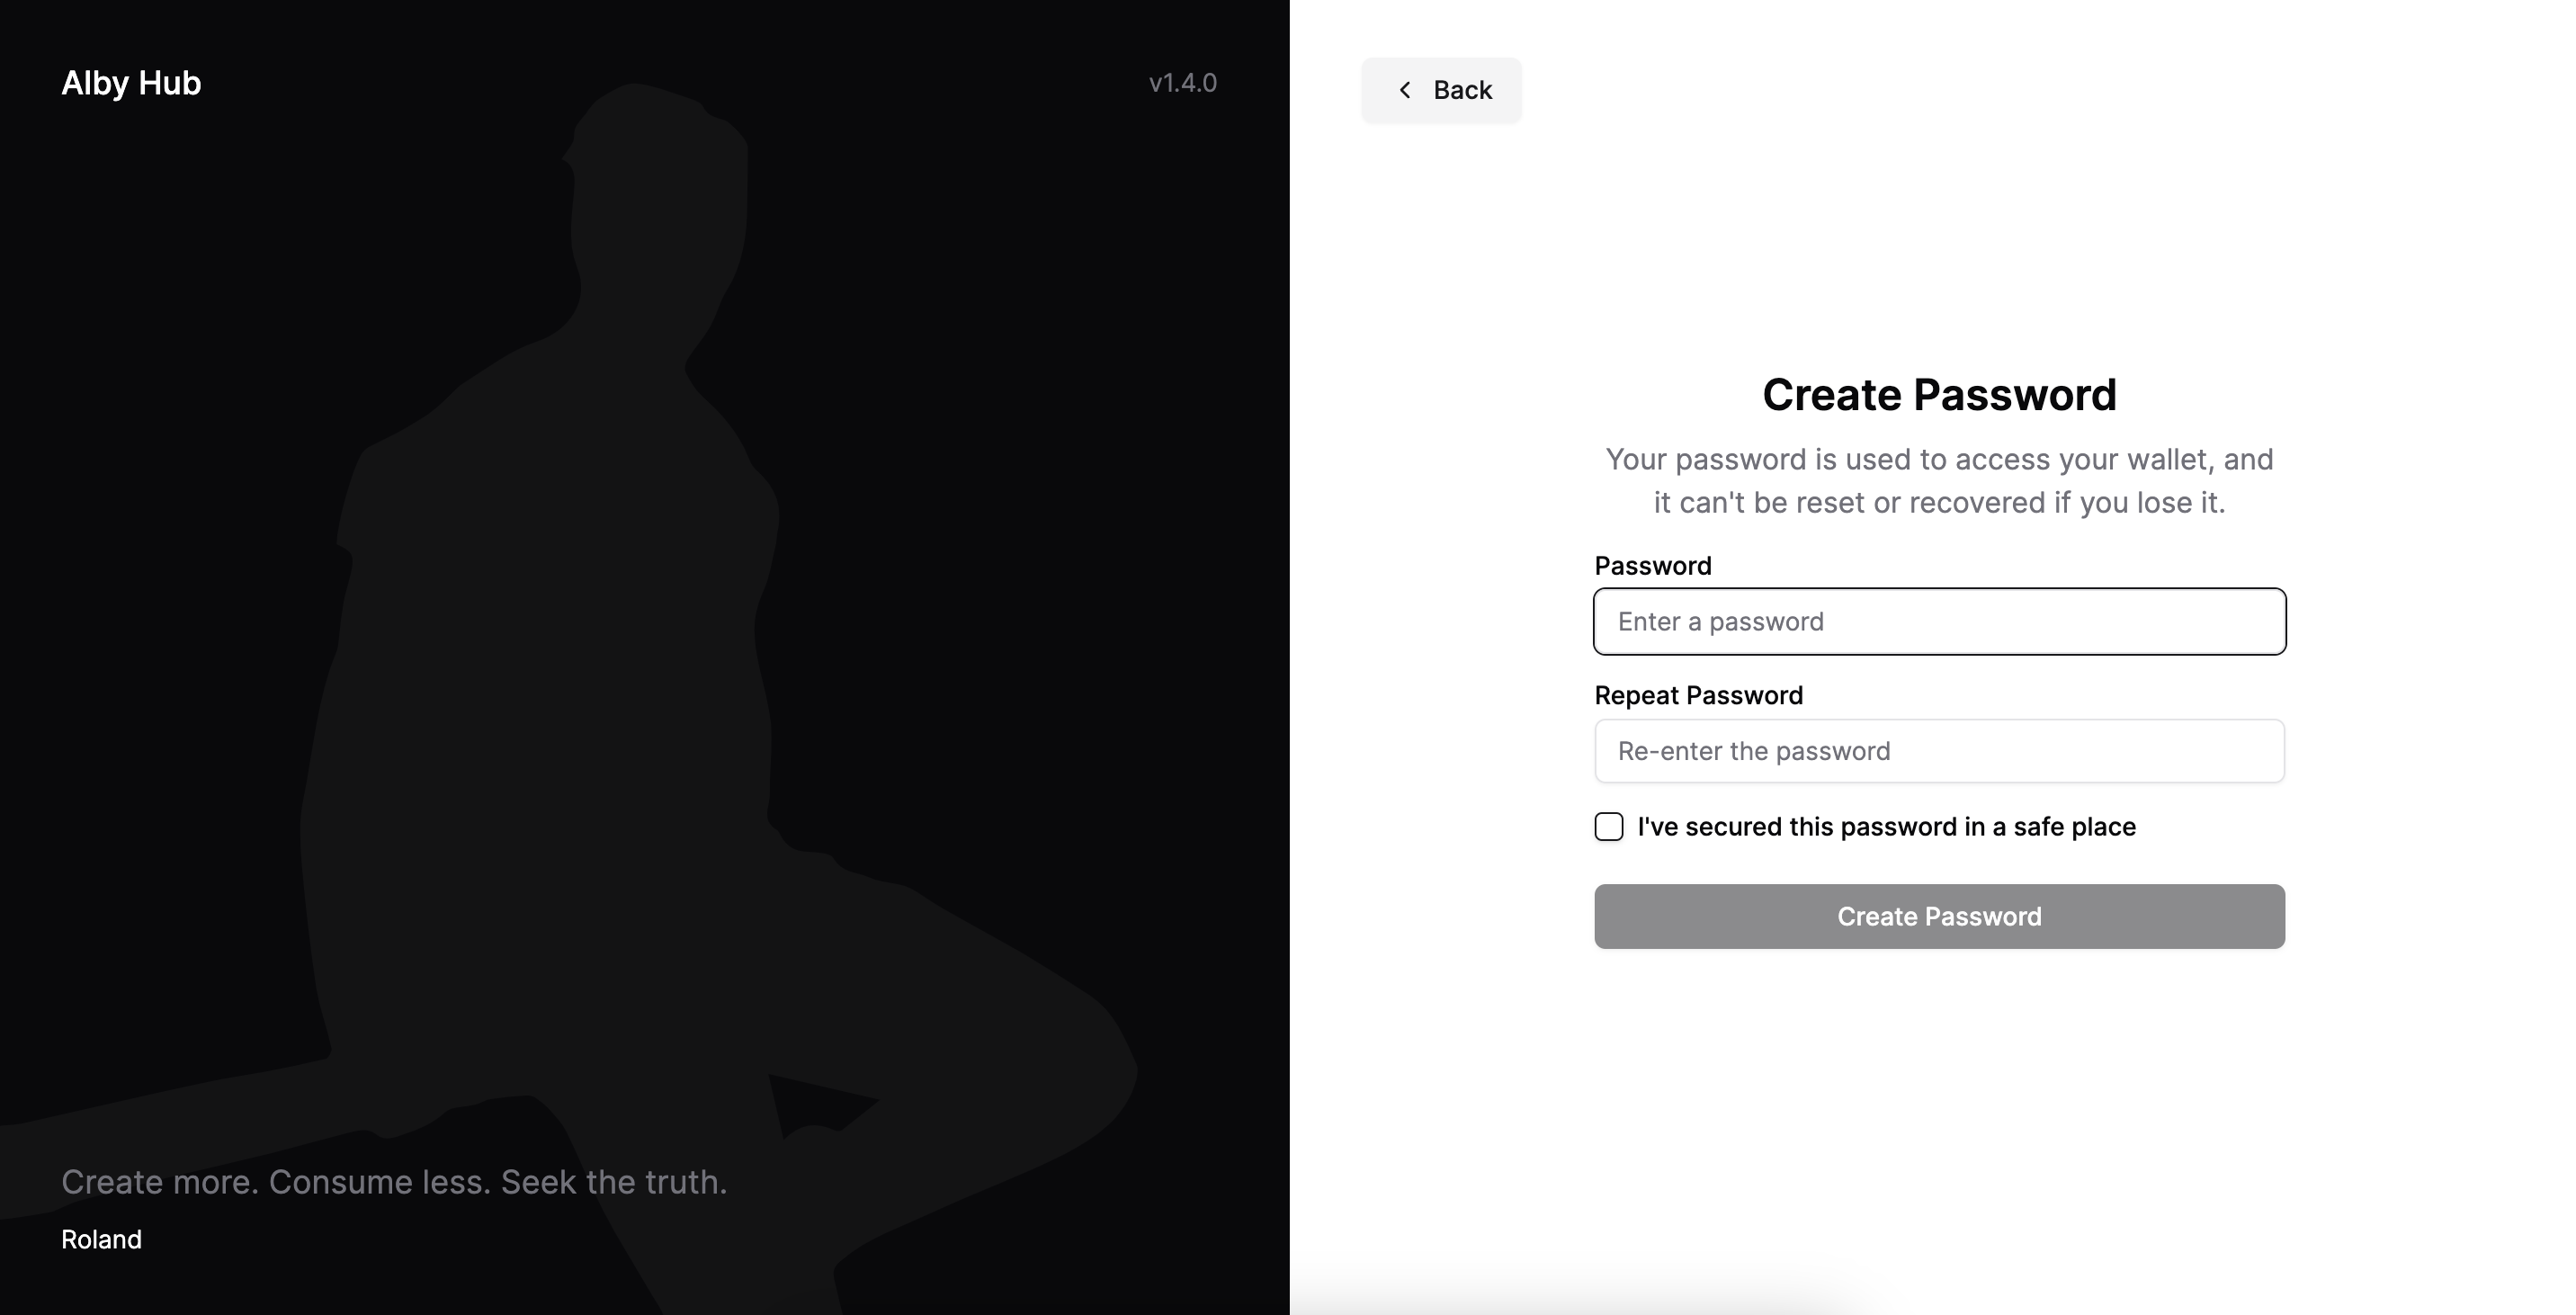
Step 5
Choose phoenixd as your backend node.
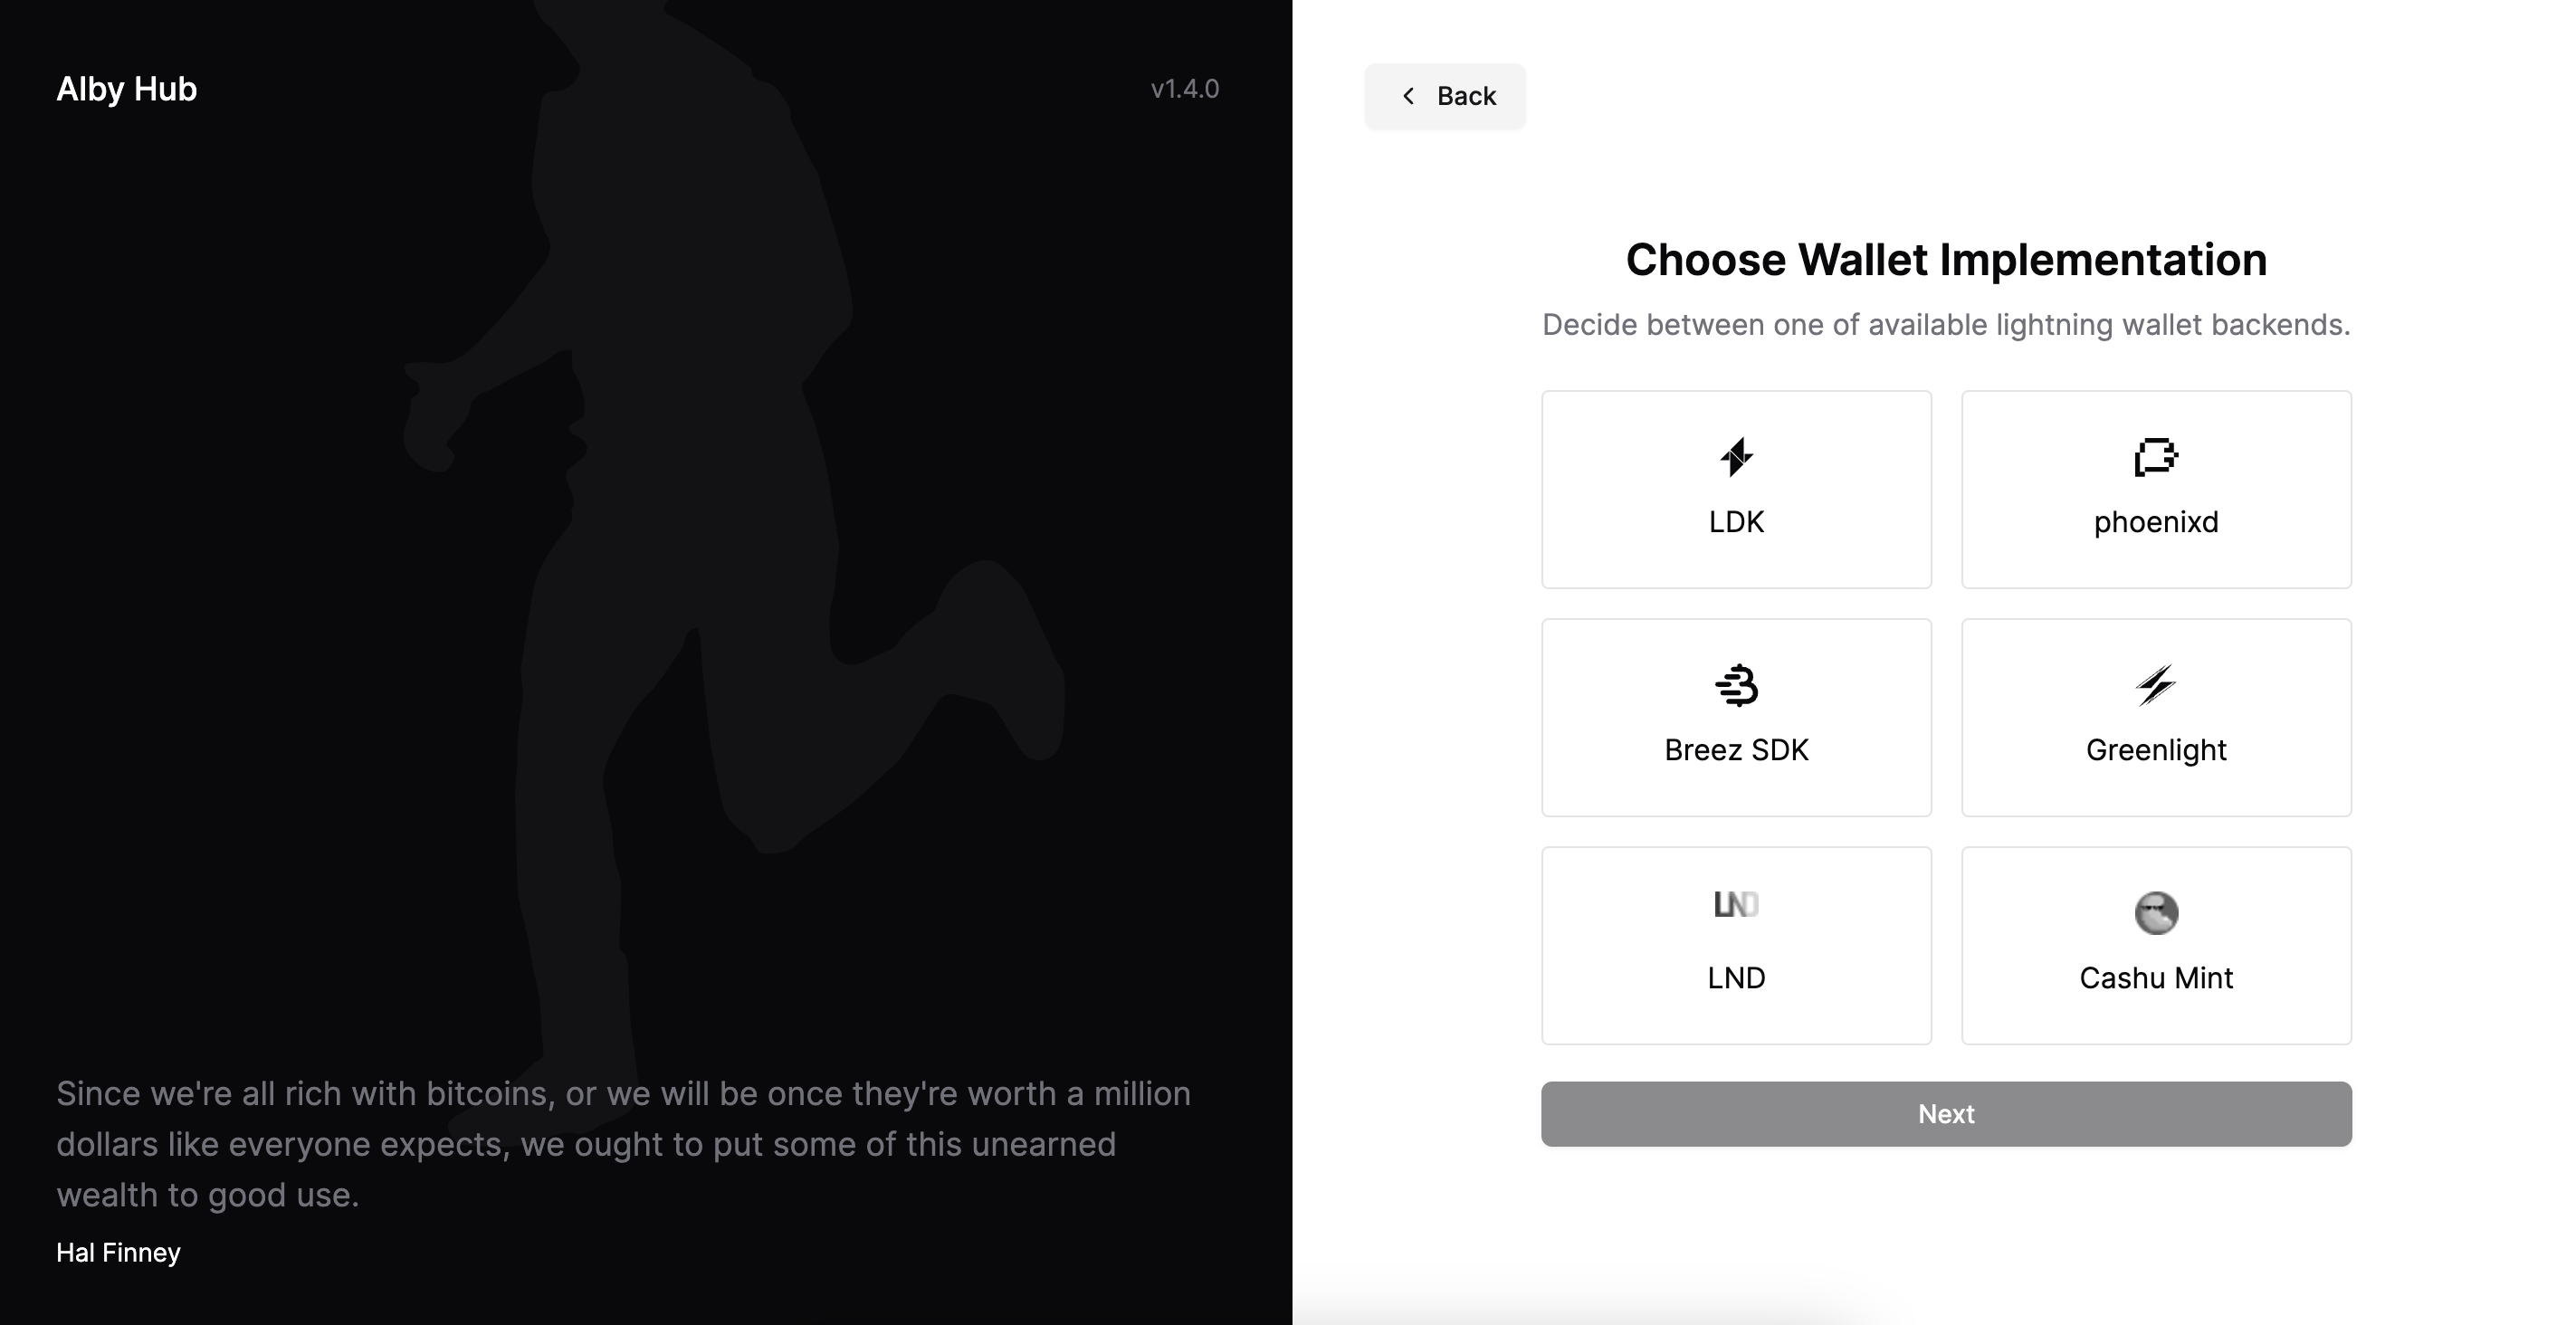
Step 6
Enter your connection details. If you are hosting your phoenixd node on Nodana then you can use your Connection URL and Admin Password values which you got when creating your node.
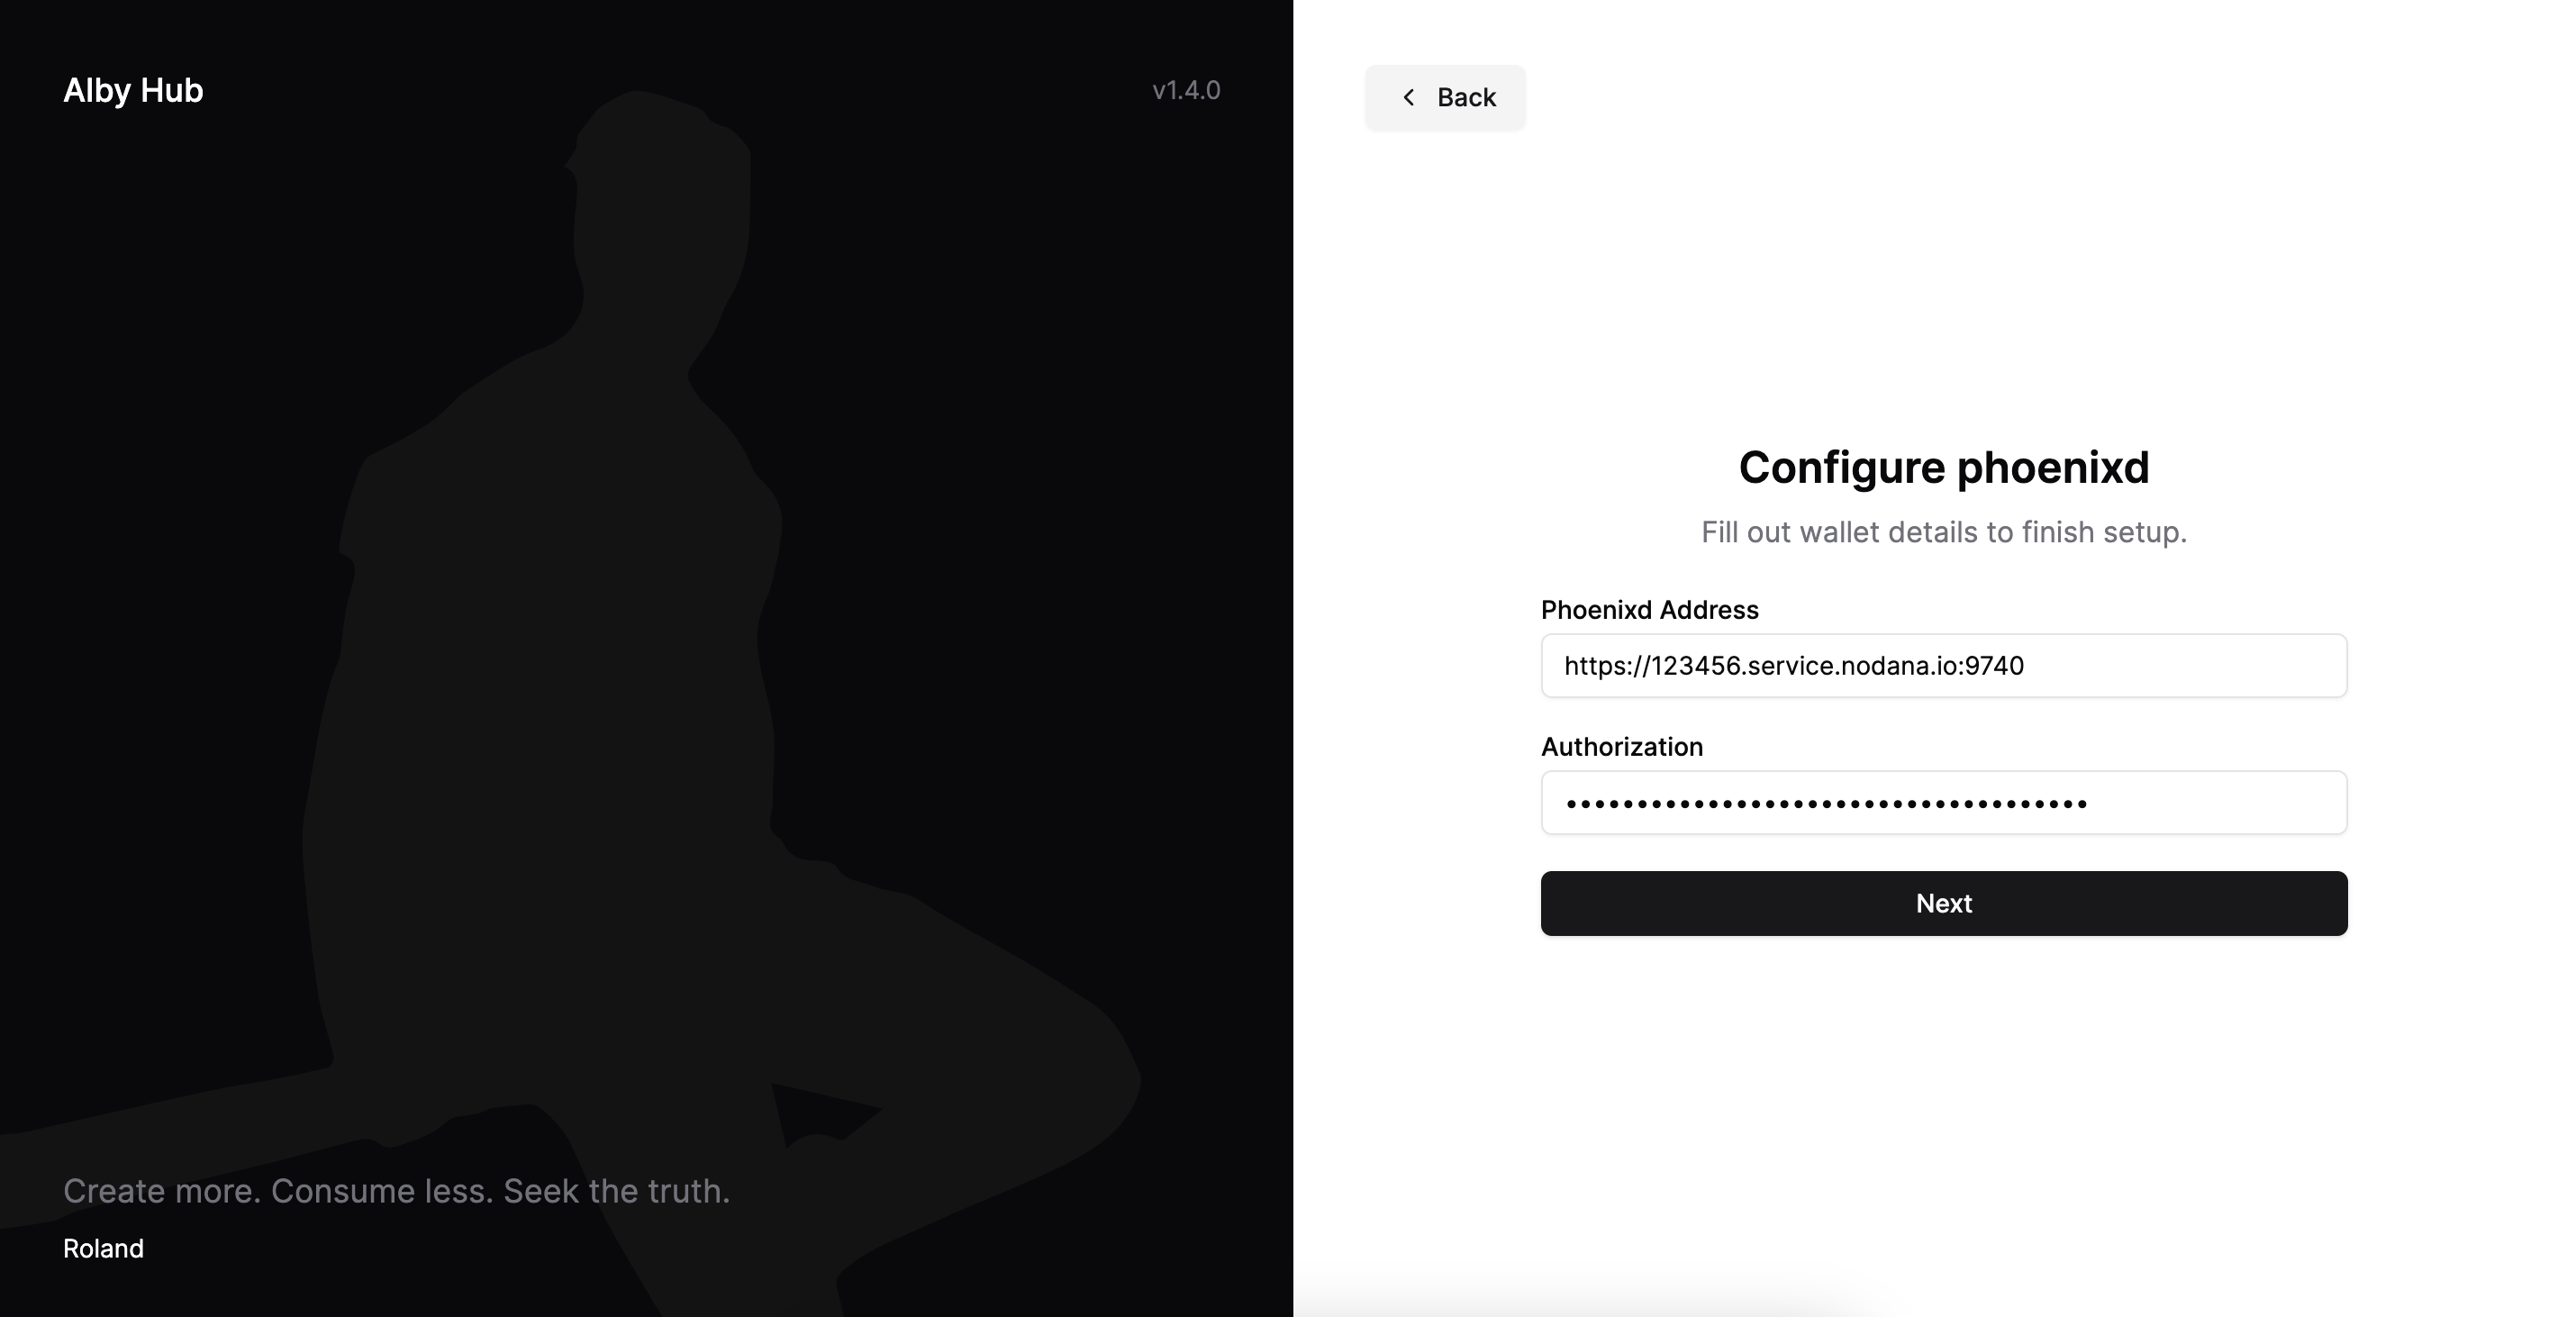
That's it. If the connection credentials are valid you will see the next screen to complete the flow and you will then be able to access the dashboard.
If you need an invite code to access Alby Hub then get in touch and we might have one spare to offer you.
Hope that help. Get in touch on Nostr or Twitter if you have any questions.
Vist the Alby Hub page: https://albyhub.com/
