Introduction
Fedimint is an open-source protocol that enables communities to create and manage their own Bitcoin-backed, privacy-preserving, and custodial digital currency systems using federations of trusted guardians. By combining Bitcoin, the Lightning Network, and Chaumian e-cash, Fedimint offers scalable, fast, and private payments while minimizing reliance on centralized custodians.
Sounds pretty cool right? Well let's set one up together. If you have three friends to try this with then great but you can also do this yourself for testing purposes.
Let's Get Started
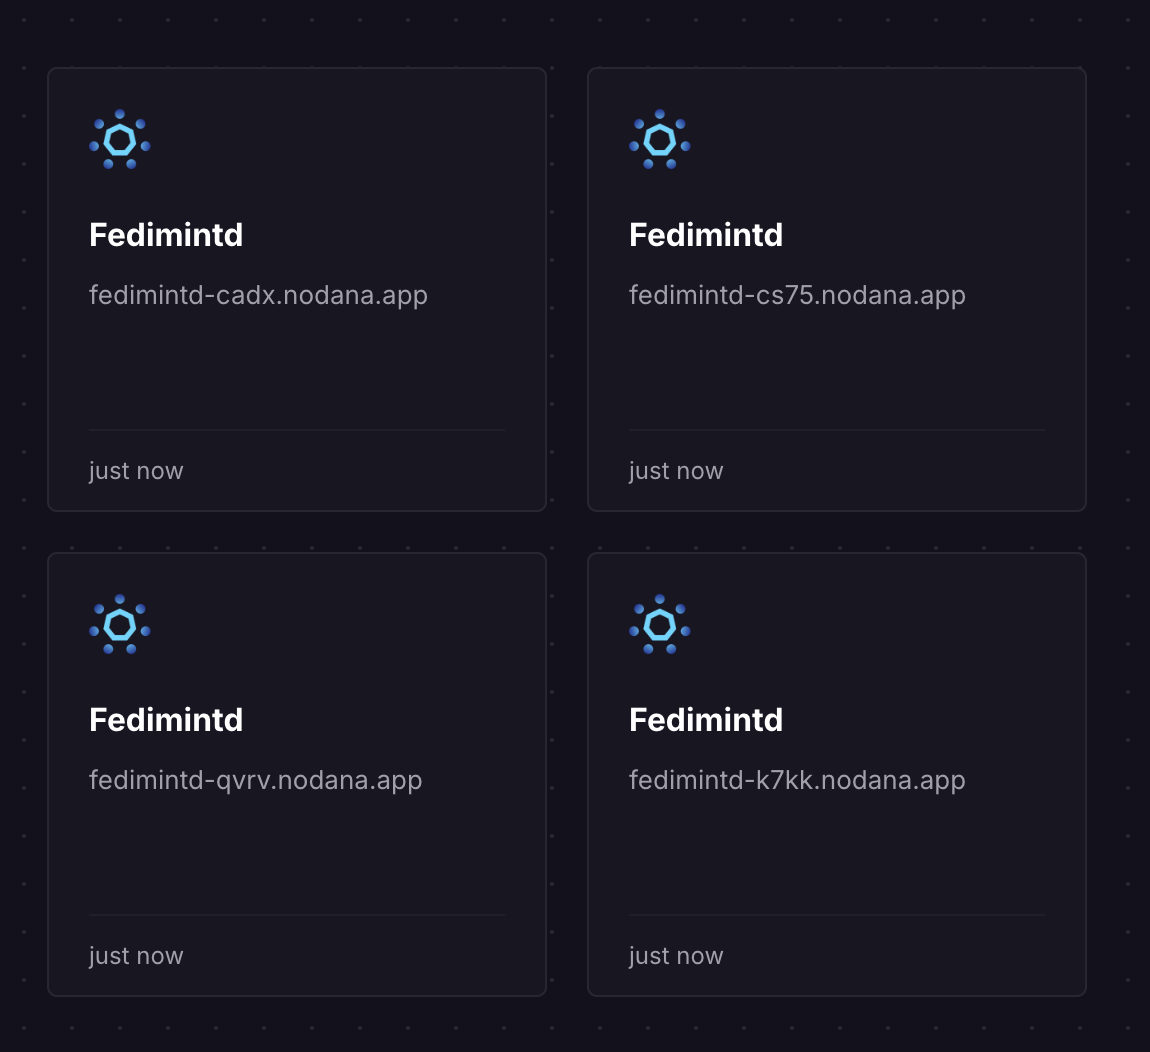
Our federation will consist of four guardians. Each guardian will run their own instance of fedimintd. If you haven't already, set up an account on Nodana and add some credit ($3 will be plenty).
Having 4 x guardians means no one person has control of the funds within the mint. It also means your federation offers better redundancy as the mint will continue to operate even if a guardian goes offline.
Step 1
On Nodana, create a new project and open the project builder by clicking on the new project. Select Fedimintd from the list of available apps on the right-hand side.
Step 2
Click "Deploy" to deploy a fedimintd instance (credit required). It will be ready in less than 10 seconds.
Step 3
Deploy three more instances to the same project if you're doing this by yourself. Otherwise your friends will need to deploy their own instance of fedimintd.

For a production fedimint it's advisable to at least deploy your instances to separate regions if using the same hosting provider. This option will be available soon on Nodana. An even better approach is to deploy guardians on different platforms such as DigitalOcean but a greater level of technical knowledge is required. You can even deploy on your hardware at home if you're running Umbrel or Start9 thanks to recent support for Iroh.
Step 4
Now that we have four fedimintd instances running we need to connect them. Open each UI by clicking on the links in the app tiles.
Step 5
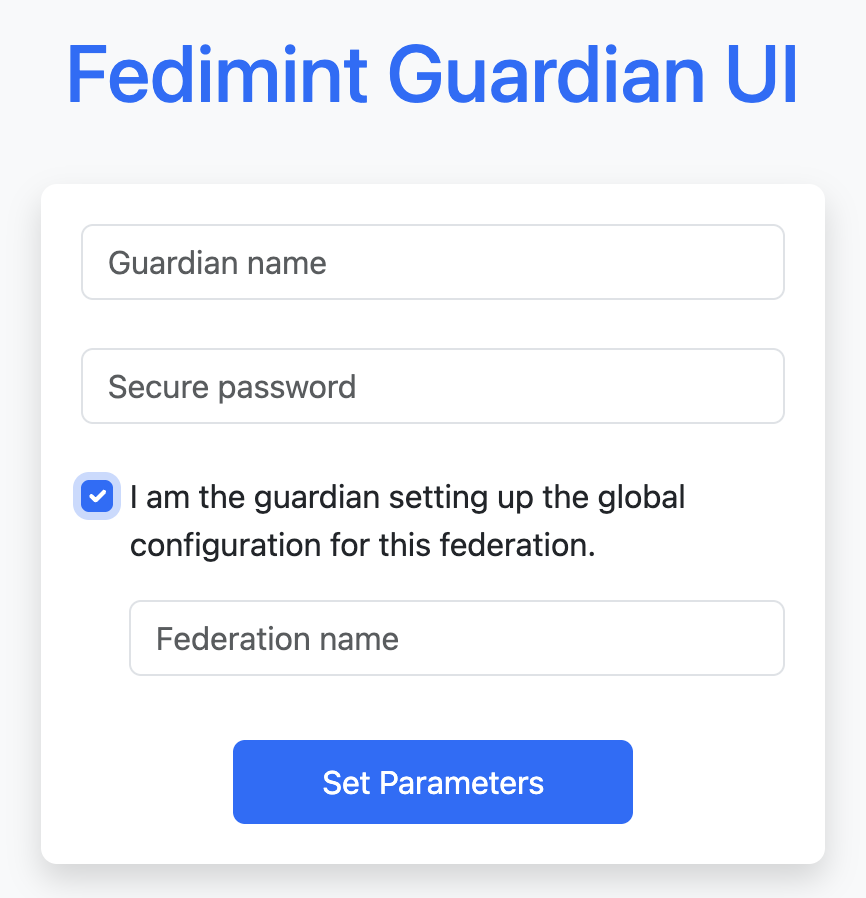
One guardian has to be the "lead" guardian. Enter a name and password and select the checkbox to enter a federation name too.

Step 6
Enter names and passwords for the other guardians too but don't enter federation names for these.
Step 7
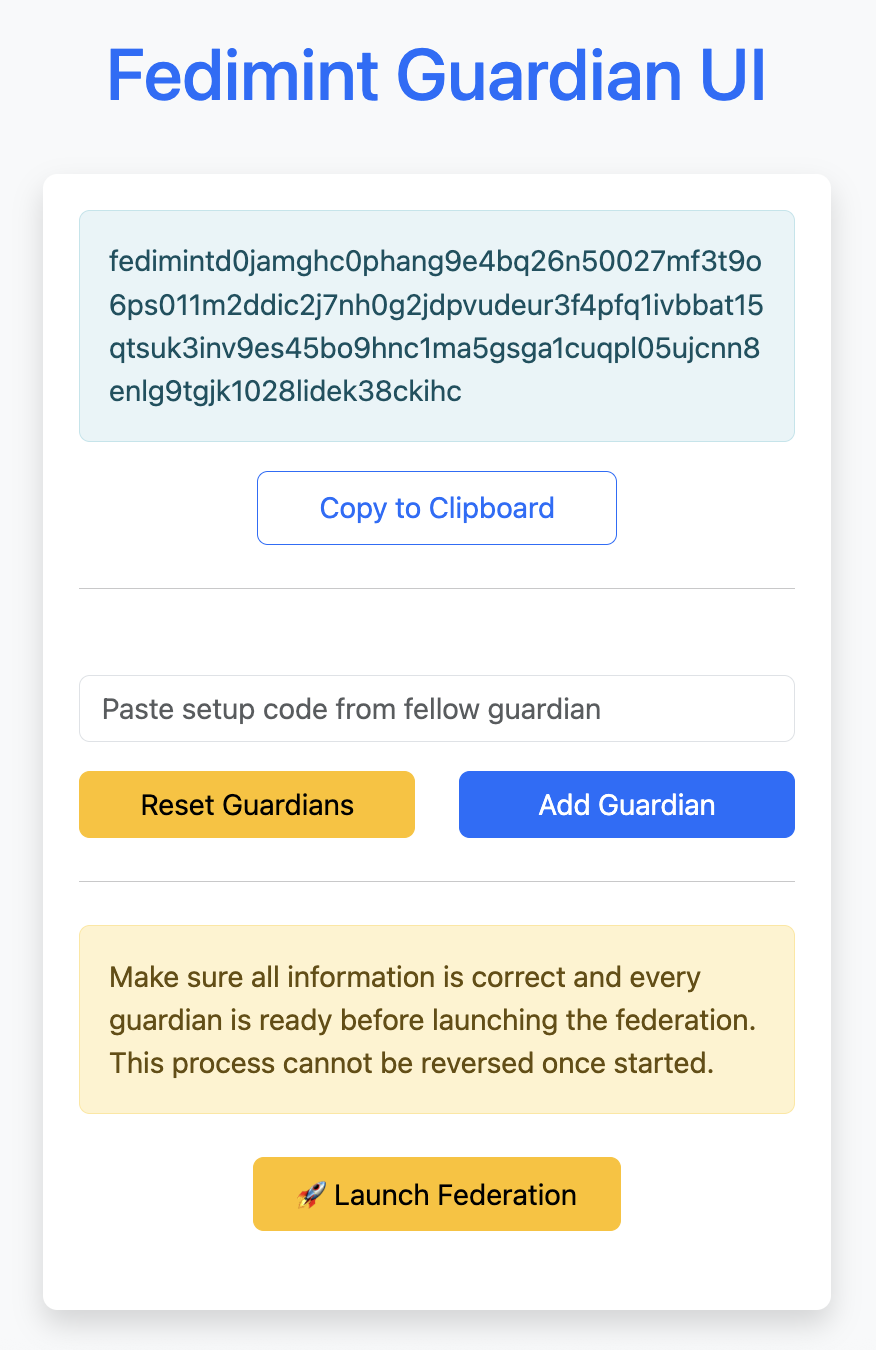
You will now see a screen that displays a code which you can share with other guardians. Once all codes have been shared and entered then each guardian should click the Launch Federation button.

Step 8
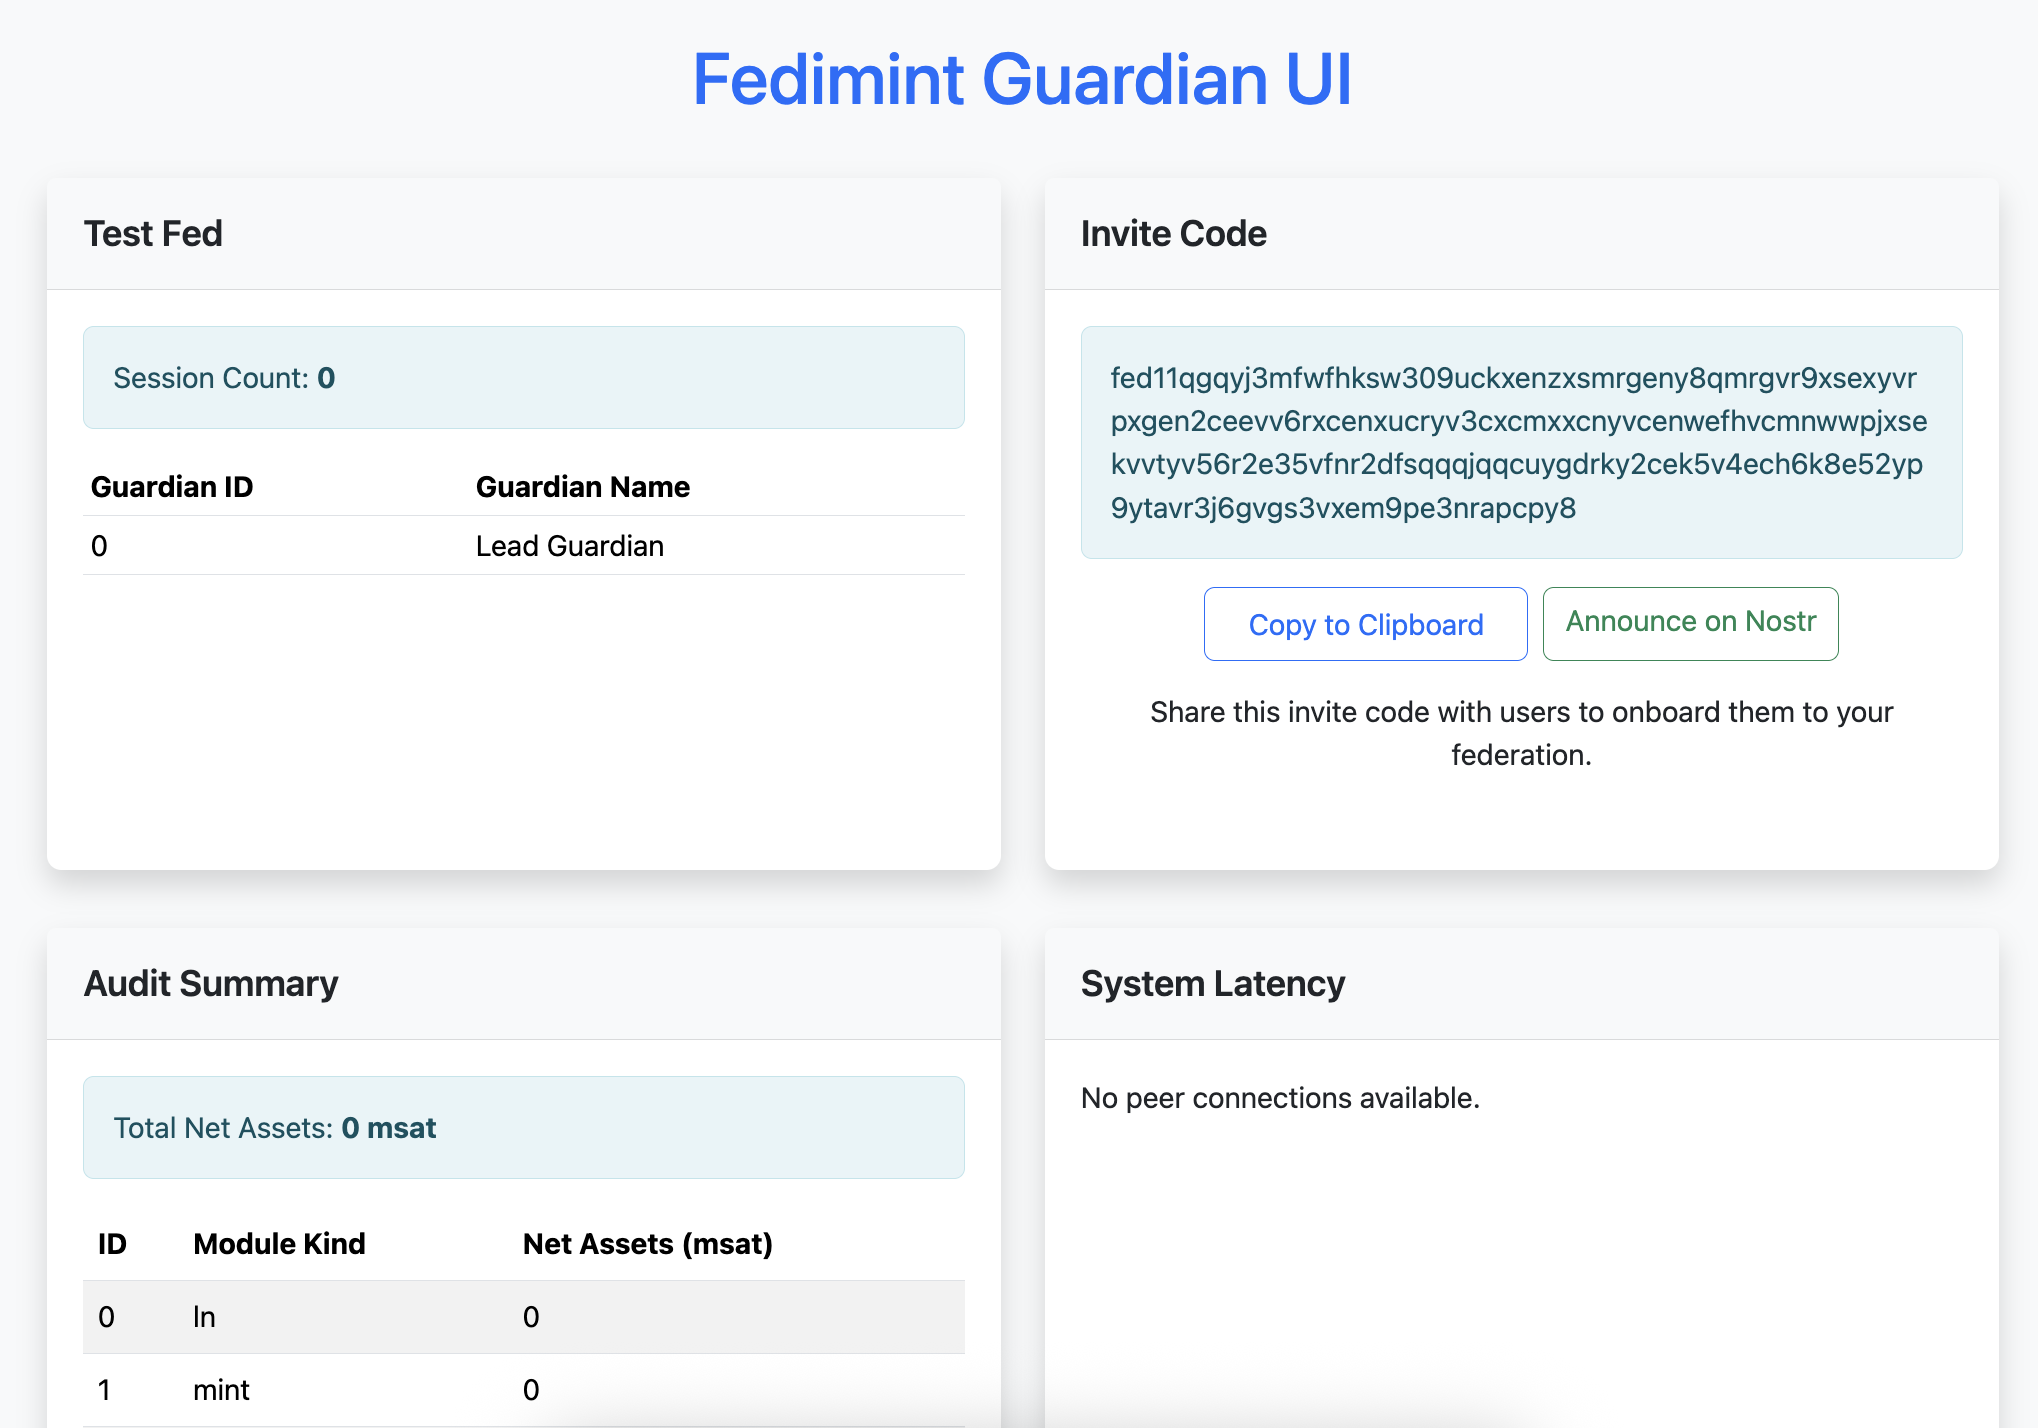
Wait for about 30 seconds or so and then refresh your page. Each guardian should now be able to access their dashboard.

That's it. You now have a functioning federation. Don't forget to delete your apps to prevent any further charges once you're done.
Next up will be a blog post showing you how to set up a Lightning Gateway for the federation.
Top tip! Don't forget to check out the Fedi app too (available on iOS and Android). This makes it easy for people to join your new federation, chat securely and transact freely and anonymously.
