Introduction
Let's set up a Phoenixd node and attach it to your Stacker News (SN) account to serve as your wallet.
Phoenixd nodes are specialized Lightning nodes that offer liquidity and channel management out-of-the-box. If you don't want to deal with setting up channels or ensuring you have enough liquidity to send and receive payments then this could be a good choice for you.
This guide will use a Nodana hosted Phoenixd node but you can host your own. Here's a guide on Stacker News if you prefer to host your own: https://stacker.news/items/695912
Three reasons to use Nodana for your Phoenixd hosting:
Simple one-click deployment
Rate limiting protection built-in to help protect your node
Dedicated url to access your node
Deploy Phoenixd
Step 1
After creating an account on Nodana, go to the Projects page and create a new project if you haven't done so already.
Step 2
Click the new project to enter the Project Builder screen. Choose phoenixd from the different templates listed on the right.
Step 3
Click Deploy to continue. Notice your credentials will be downloaded automatically in a file. This will list your passwords, seed phrase etc. Keep these details safe and do not share them with anyone else.
Take a note of the connectionUrl, the password and the restrictedPassword as these will be required in the next step.
Step 4
Go to https://stacker.news/settings/wallets and choose the option to attach a Phoenixd wallet. Then enter the credentials provided on Nodana:
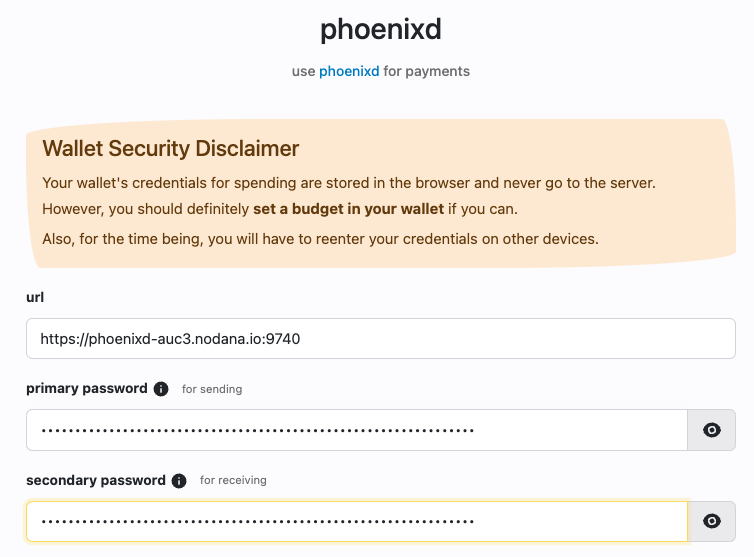
Enter the connectionUrl in the url input box, the password value in the primary password input box and the restrictedPassword in the the secondary password input box. Choose whatever values you like for "desired balance" section and then click attach.
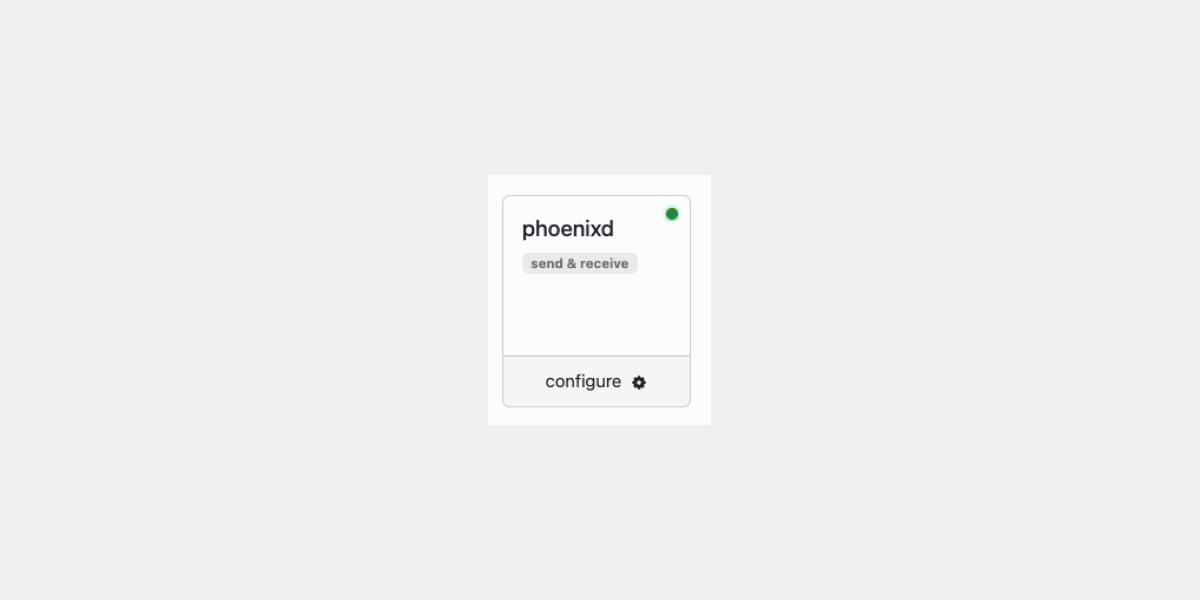
That's it. Your wallet should now be connected and a green dot to show the connection is active:
If you have any issues or questions then feel free to get in touch any time.